Introduction
Dear Customer,
Thank you for purchasing our theme. We hope you enjoy it.
If you like the theme, you can support us by giving it a 5 stars rating.
Thank You!
If you need any help don't hesitate to contact us on the item's support page.
Please note: the online version of the documentation may be updated more often than the version provided in the downloadable archive.
Theme Installation
Download the main product archive from the marketplace and unzip it. Navigate to topclub folder. There are several files and folders inside:
- topclub.zip - main archive with the theme
- documentation.zip - offline documentation for the theme
- Slider demo content archive
- topclub-child.zip - child theme archive
Installation
Choose the installation method and follow the according instructions below:Installation in the Admin Panel
In the Admin Panel navigate to Appearance → Themes → Add New → Upload Theme
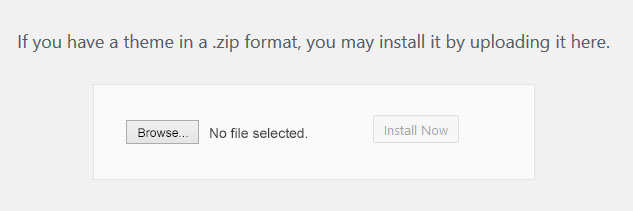
- Select the theme archive (topclub.zip)
- Click Install Now
- Navigate to Appearance → Themes and activate the topclub theme.
FTP Installation
- Open your FTP software and get access to your website.
- Open the following directory: wp-content → themes
- Extract the theme archive (topclub.zip) to this folder
- Navigate to the Admin Panel → Appearance → Themes and activate the topclub theme.
Plugin Installation
Once the theme is activated, the list of required plugins appears in the Admin Panel.
While importing the demo content in the next steps, the required plugins will be installed automatically. In case you don't want to import the demo content, make sure all the necessary plugins are installed and activated before continuing.
Next steps
Navigate to Settings > Permalinks, in Common Settings select Post Name and click Save Changes.
The installation process is now completed but you may notice that the theme looks empty.
At this moment, you can:
- start adding your content and configuring the theme by your own
or
- proceed to the next step and import the demo content (highly recommended).
Demo Import
We highly recommned you to import the demo content by following the instructions below:
- Install the One Click Demo Import plugin.
- In the Admin Panel navigate to: Appearance → Import Demo Data
- Choose the demo you need and click Import Demo.
Please notice: in case you haven't installed and activated the WooCommerce plugin, you may get some warnings after the import. In this case, they can be ignored.
Setting Up the Media Thumbnails
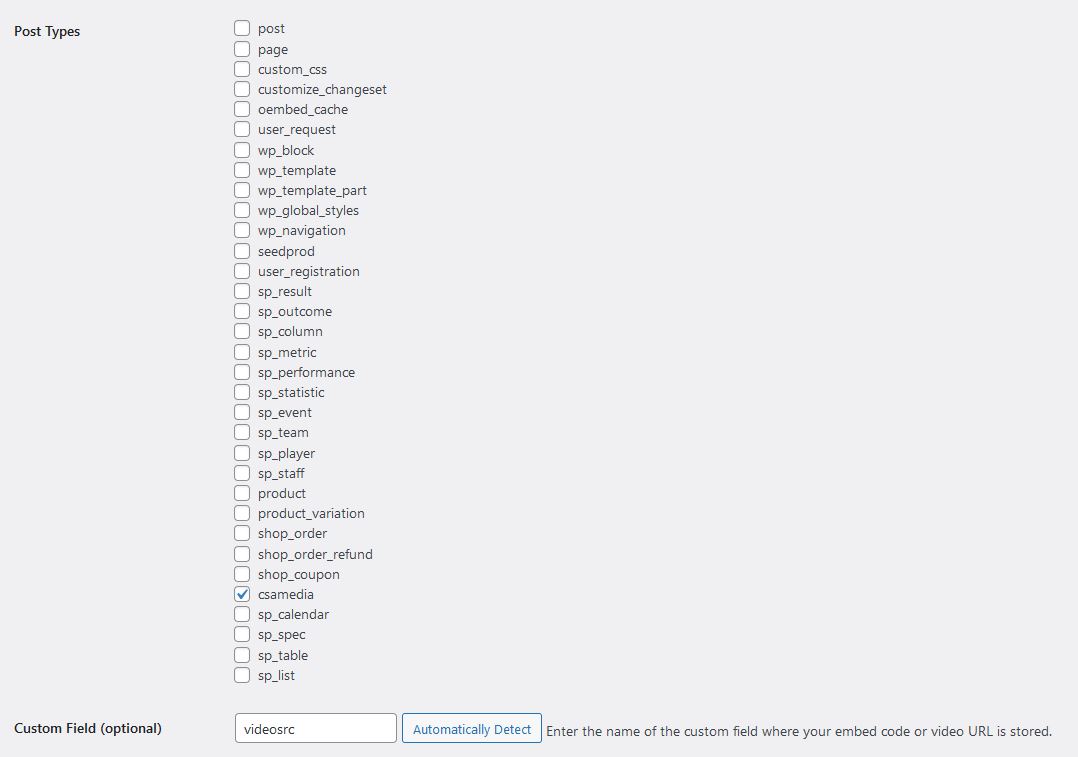
In order to get video thumbnails for Media items automatically, navigate to Settings -> Video Thumbnails. Under Post Types select csamedia and in Custom Field type videosrc. Then click Save Changes.
Setting Up the Menu
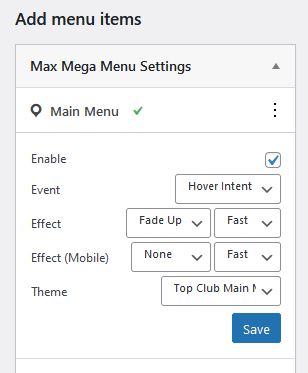
Navigate to Appearance > Menus. Assign a menu (Header Menu) to Main Menu. Under Max Mega Menu Settings check Enable, make sure that Theme is set to Top Club Main Menu and click Save.

Slider Demo Import
Then import the demo content for the slider:
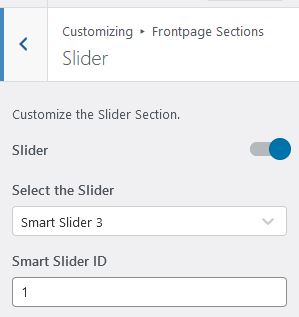
In the Admin Panel navigate to Smart Slider, click New Project > Or Import Your Own Files. In the Upload File field select the top-club-slider.ss3 file from the downloadable archive and click Import.
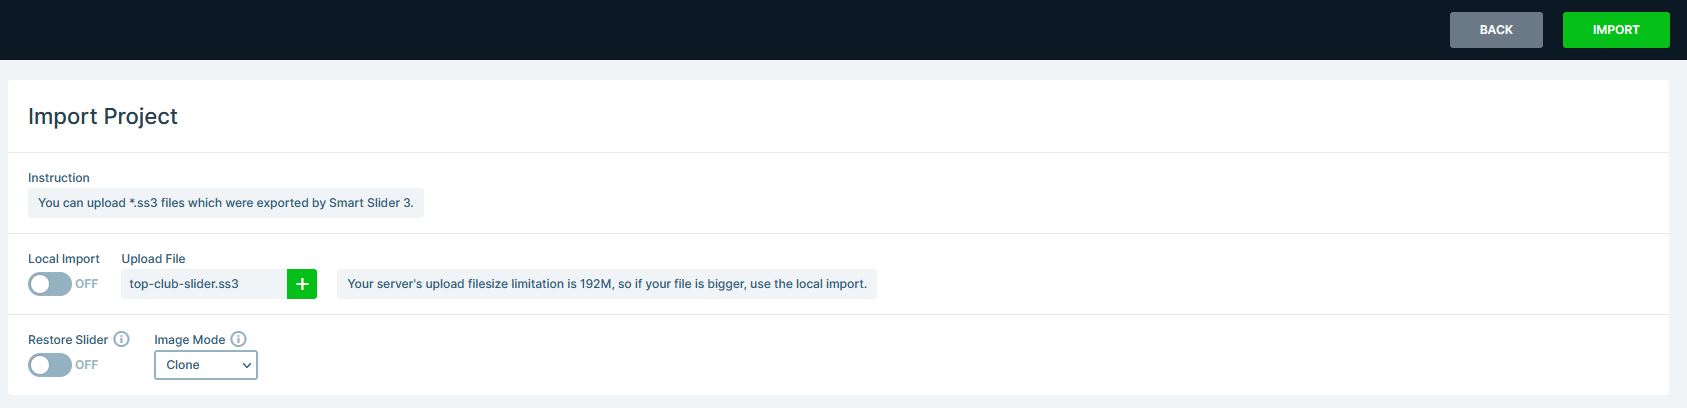
In the next screen you will notice the ID number of the slider. Copy this number and navigate to Customizer > Frontpage Sections > Slider. In theSelect the Slider field select Smart Slider 3 and add the ID into the Smart Slider ID field. Click Publish.

ALL DONE
Theme Translation
The theme is translation ready. So you can use Poedit or similar software to translate it or change some text. You can find some information about it here
Anyway, we recommend to use Loco Translate plugin.
Theme Customization
All customization options are available in the Customizer.
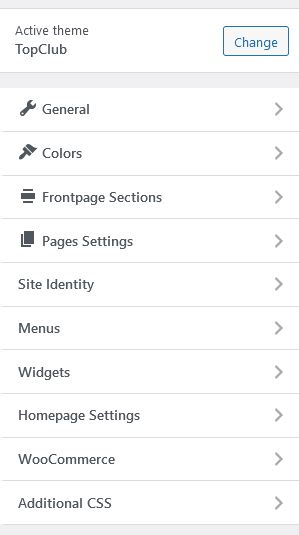
Brief Info:
In Site Identity you may set your own logo, site title and icon.
In Frontpage Sections you can configure the frontpage sections. In Sections Order you can order and show/hide different sections.
In Pages Settings you may configure the options of different pages.
In Colors you can change base colors of theme. Some other color and background options can be found inside according sections in Frontpage Sections tab.
Slider
You can use two sliders in the theme: Smart Slider 3 and Slider Revolution. You can select the slider in Customizer > Frontpage Sections > Slider Section.
You can find more info about Smart Slider 3 setup here under Slider Demo Import title.
If you want to use Slider Revolution:
- Create new slider in the Slider Revolution menu and copy its alias.
- Navigate to Customizer → Frontpage Sections → Slider Section → Choose Slider Revolution in the select field and paste the alias name into the according field.
- Save changes.
Sports Pages
All the content like League Tables, Events, Teams etc. should be created in the SportsPress interface.
All the necessary information can be found here
Media
Creating Media Item
Please notice: media items are used in the Media Section and by the following link: yoursite.com/media/
In the Admin Panel navigate to CSA Media → Add New.
- Give a title to the Media item
- Add some content text for single page if necessary.
- Select or add categories for your media item.
- Select one of the media types below according to the following info:
- If you want to add an image: choose the Image type and set your image in the featured image field.
- If you want to add an audio: choose the Audio type, set featured image and provide a link to the audio into the Audio URL field.
- If you want to add a video: choose the Video type, provide a link to the video to the Video URL field and click Publish. Set your own featured image in case it was not created automatically after saving.
FAQ
Some frequently asked questions can be found here: Top Club Theme FAQ.
Updating Theme
In order to update the theme you should download the archive from the marketplace again.
Extract it and find the archive with the theme.
Upload this archive in Wordpress Admin Panel and activate the theme.
Please notice: If made some customization in the theme files all changes will be lost.
Credits
The list of assets used in the theme:
-
Bootstrap
Github
License -
Owl Carousel
Github
License -
JQuery-viewport-checker
Github
License -
Woocommerce
Github
License -
Wp-bootstrap-navwalker
Github
License -
TGM-Plugin-Activation
Github
License -
Font Awesome
Github
License -
Kirki
Github
License - Smart Slider
- Lightcase
- AddToAny Share Buttons
- Line Awesome
- Superfish & Supersubs
- Video Thumbnails Reloaded
- One Click Demo Import
-
Images and other assets used in the demo:
1, 2, 3, 4, 5, 6, 7, 8, 9, 10, 11, 12, 13, 14, 15, 16, 17, 19, 20, 21, 22, 23, 24, 25, 26, 27, 28, 29